Speed Painting the Corpse Wrack Mausoleum
Tabletop Gaming Terrain can be quite intimidating to paint, but sometimes, the best plan of action is to not focus on quality, but speed. This page is a supplement to the following video:
Step 1 – Priming and Citadel Contrast Paints
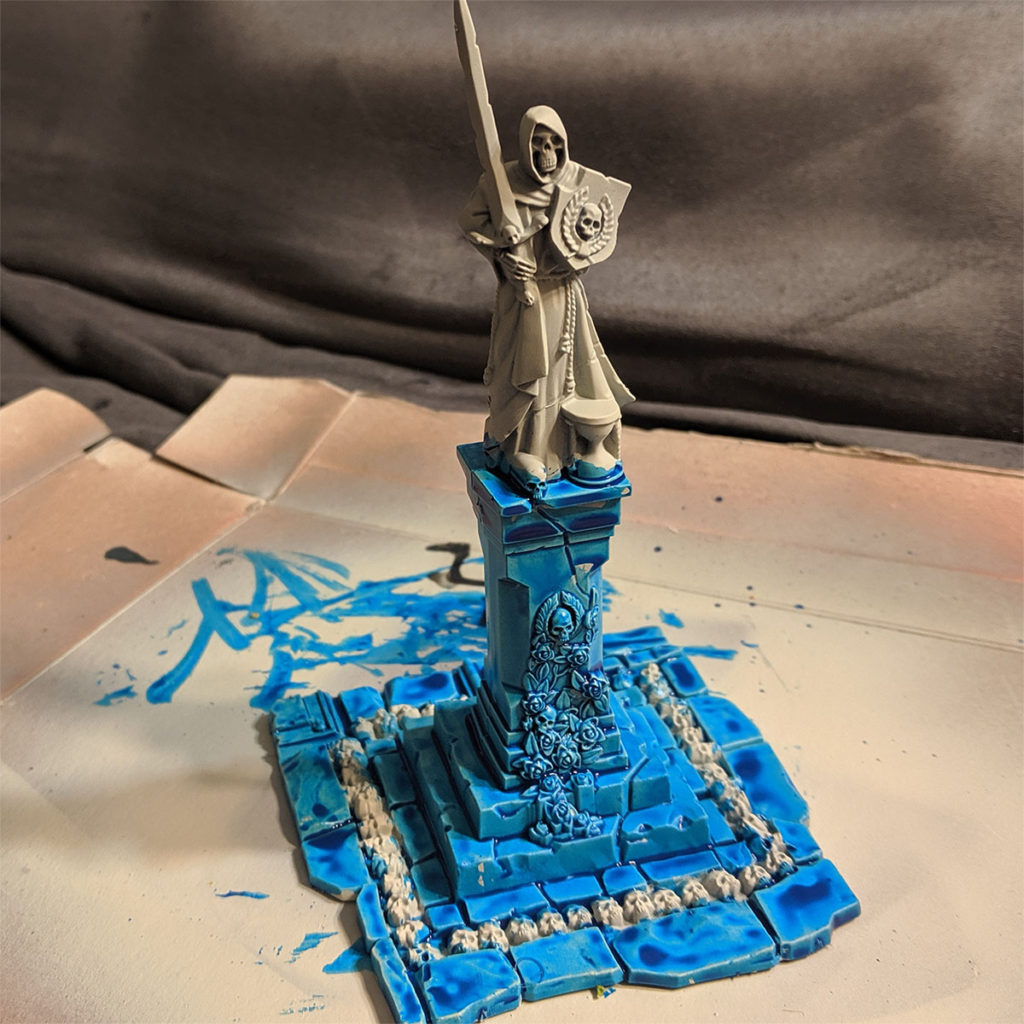
The quickest way to get started with painting buildings is to give them a Citadel Contrast Paint undercoat. My goal with the my set was to give the illusion that the stone buildings were once covered in a blue paint. For this, I started with a Wraithbone primer followed by a layer of Talassar blue on all stone surfaces.
Step 2 – The Stone Color
Before starting on this step, the contrast paint from step 1 needs to dry. I would wait at least 10 minutes, but the amount of time is really up to you. The less time you wait, the more the blue contrast paint will mix with the gray paint in this step and influence its color.
In order to give the stone blocks their gray color, simply dry brush a gray of your choice over the blue contrast paint. Be sure to leave some of the blue color showing through.
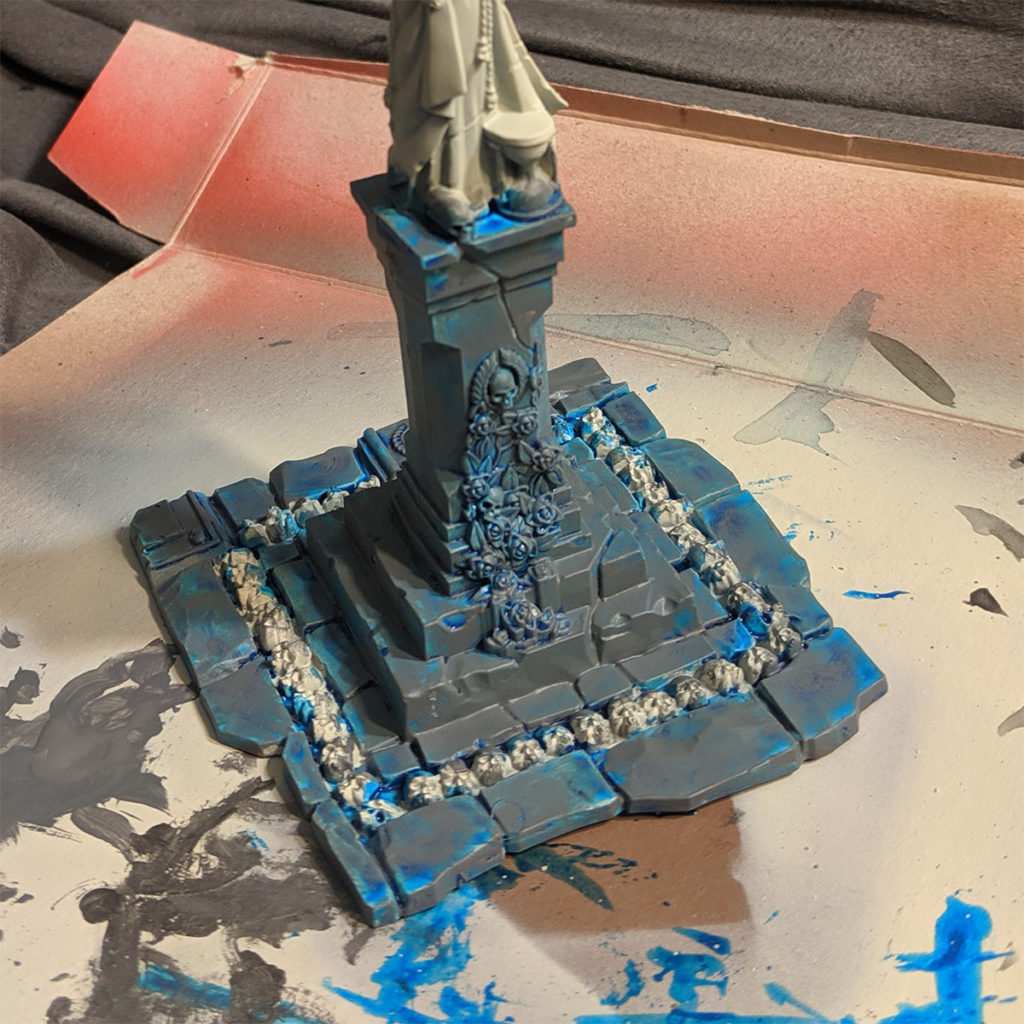
Step 3 – Darken Things up a Bit.
While the basic idea of the quick paint job is starting to appear, it still looks a bit flat and kind of new. Lets knock things down a peg or two.
Completely cover the entire stone area with a black wash or shade. I’m using the non-gloss version of Nuln Oil from the citadel paint line.
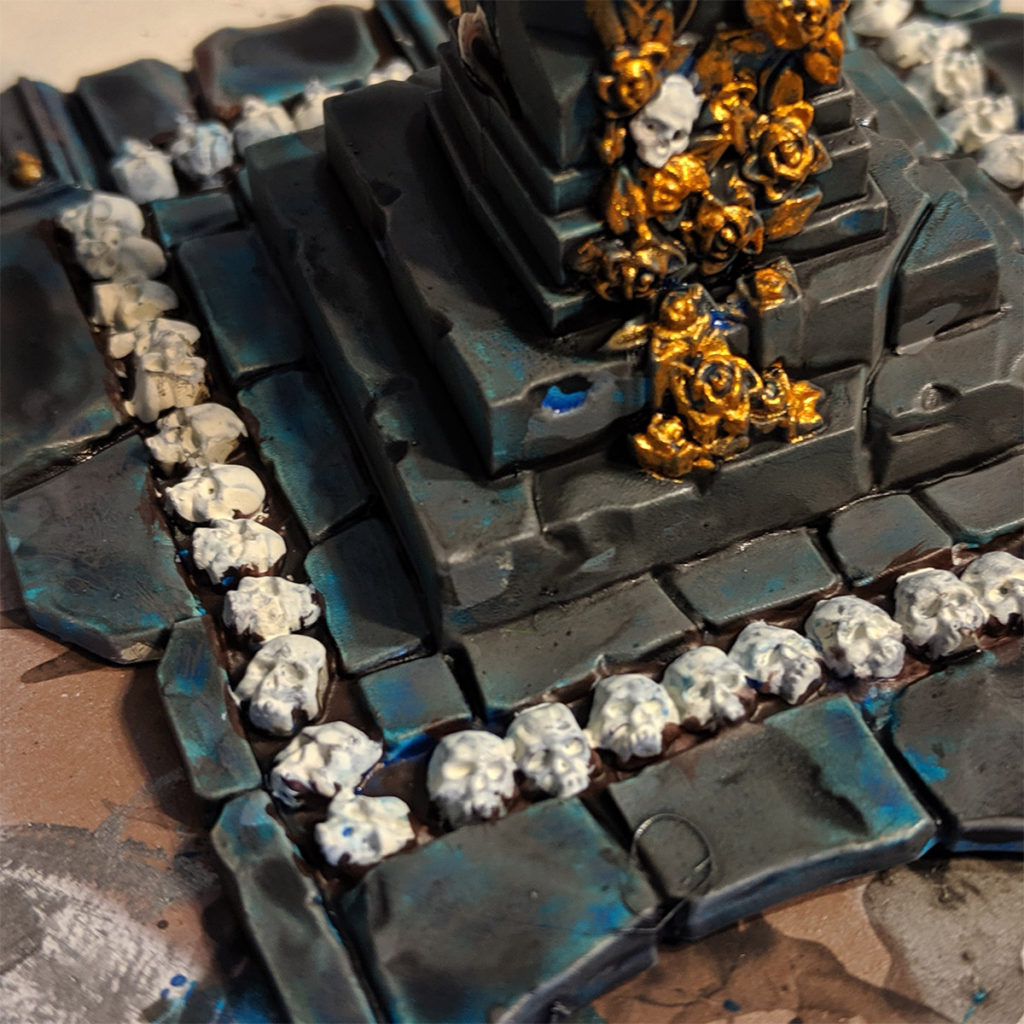
Step 4 – Gold Decorations
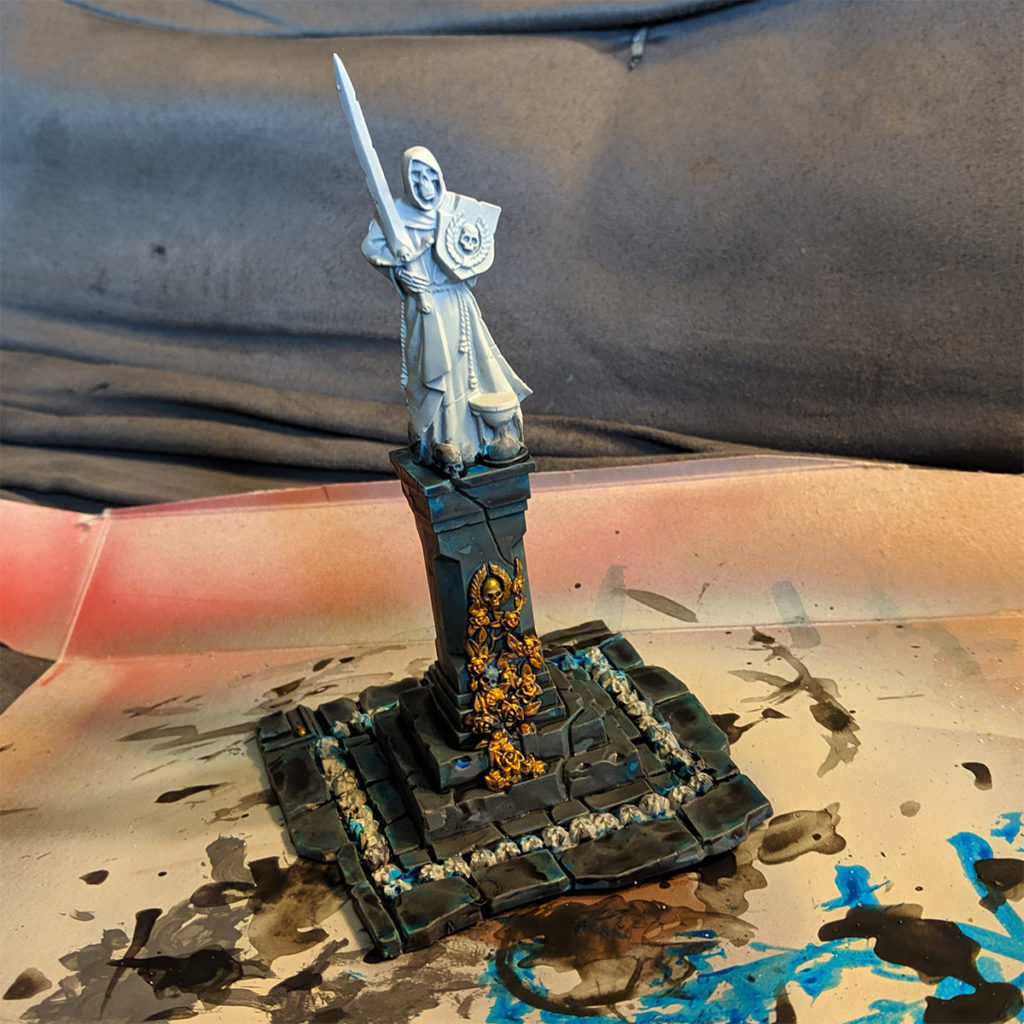
Most of the terrain pieces in this set are covered in what I made gold decorations. These include the details like the roses and various Sigmar icons.
The quickest base coat is some watered down gold. Even if the decorations are completely covered in gold…well…I guess they were not metal to begin with. Perhaps they were just stone painted to look like gold.
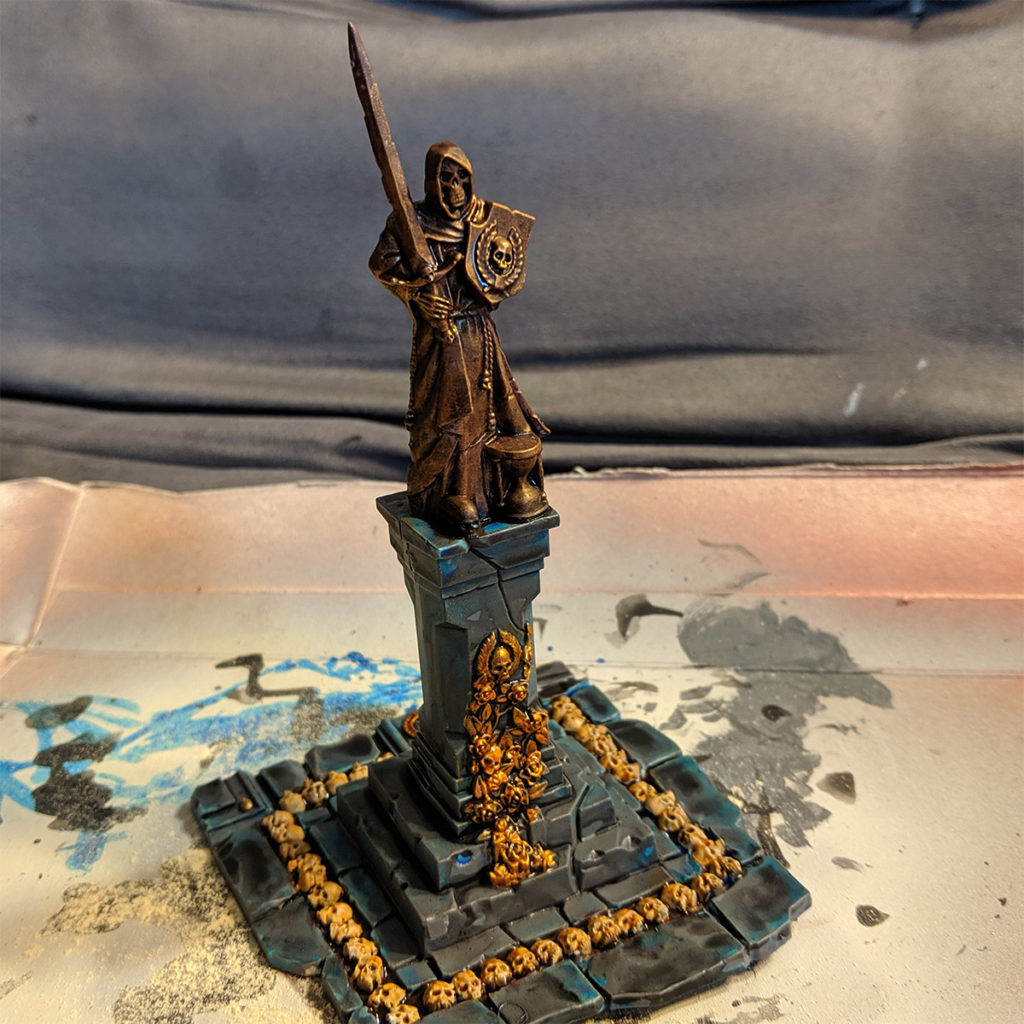
Step 5 – Bronze Statues Part 1
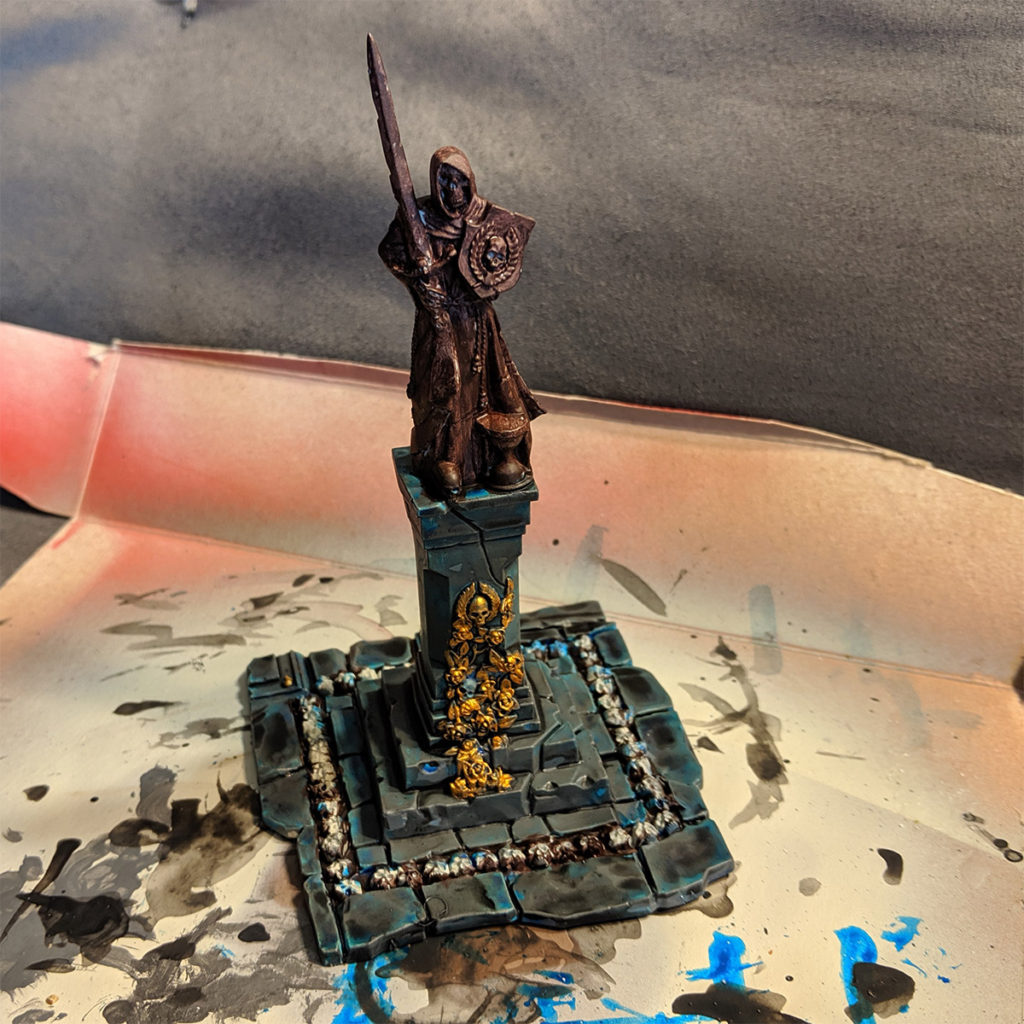
For the larger decorative pieces, such as this statue, I chose to paint them as a large bronze cast.
Of course, in Warhammer, nothing is new, so the base coat is not a metallic color, but a simple brown color.
Step 6 – Dirty Mud
Other than old stone and metal, there is a whole bunch of mud lying around this graveyard.
Like the step above, this base coat for these parts is just a dark brown color. Covering the muddy areas with a black wash or shade can also help to add some detail and contrast to the mud.
Do not worry about keeping the mud in place. If its color spills out onto the neighboring terrain details, that is fine. Mud and dirt has a way of doing that in real life.
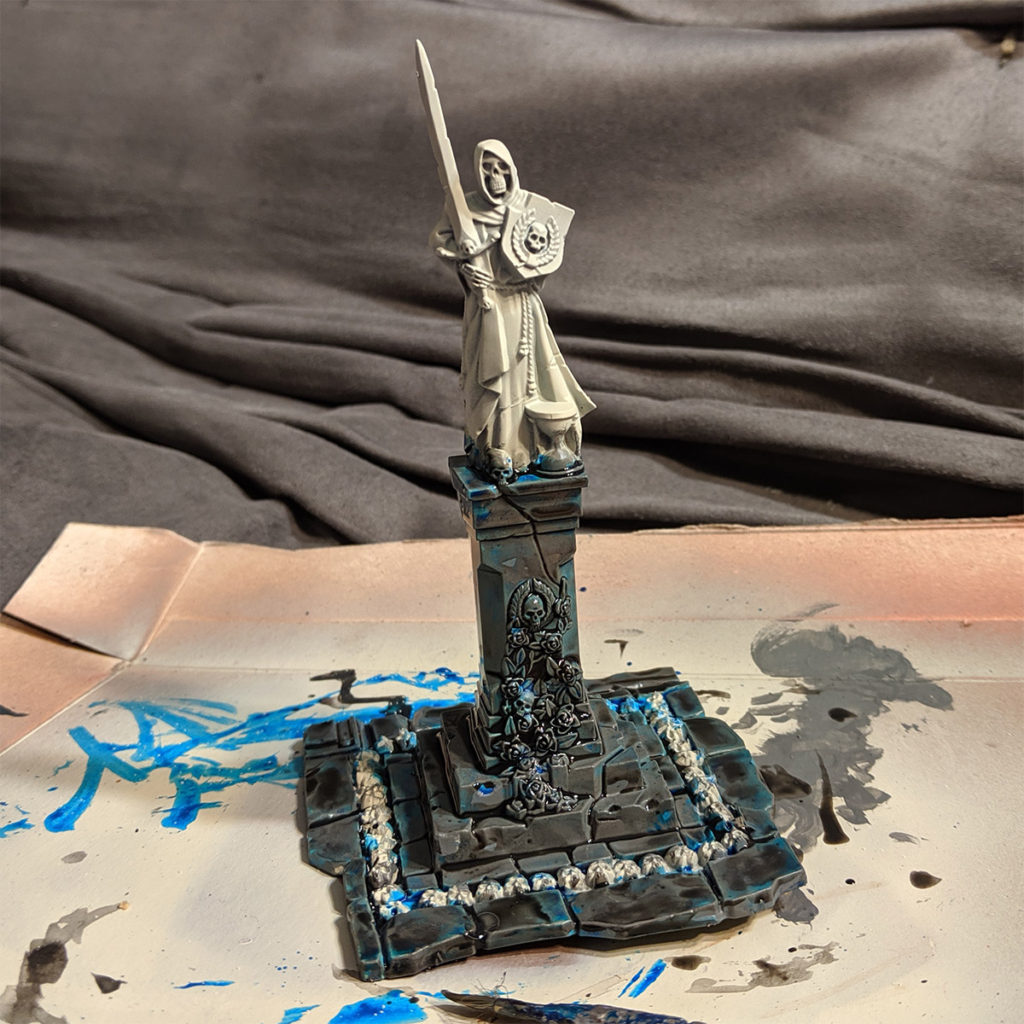
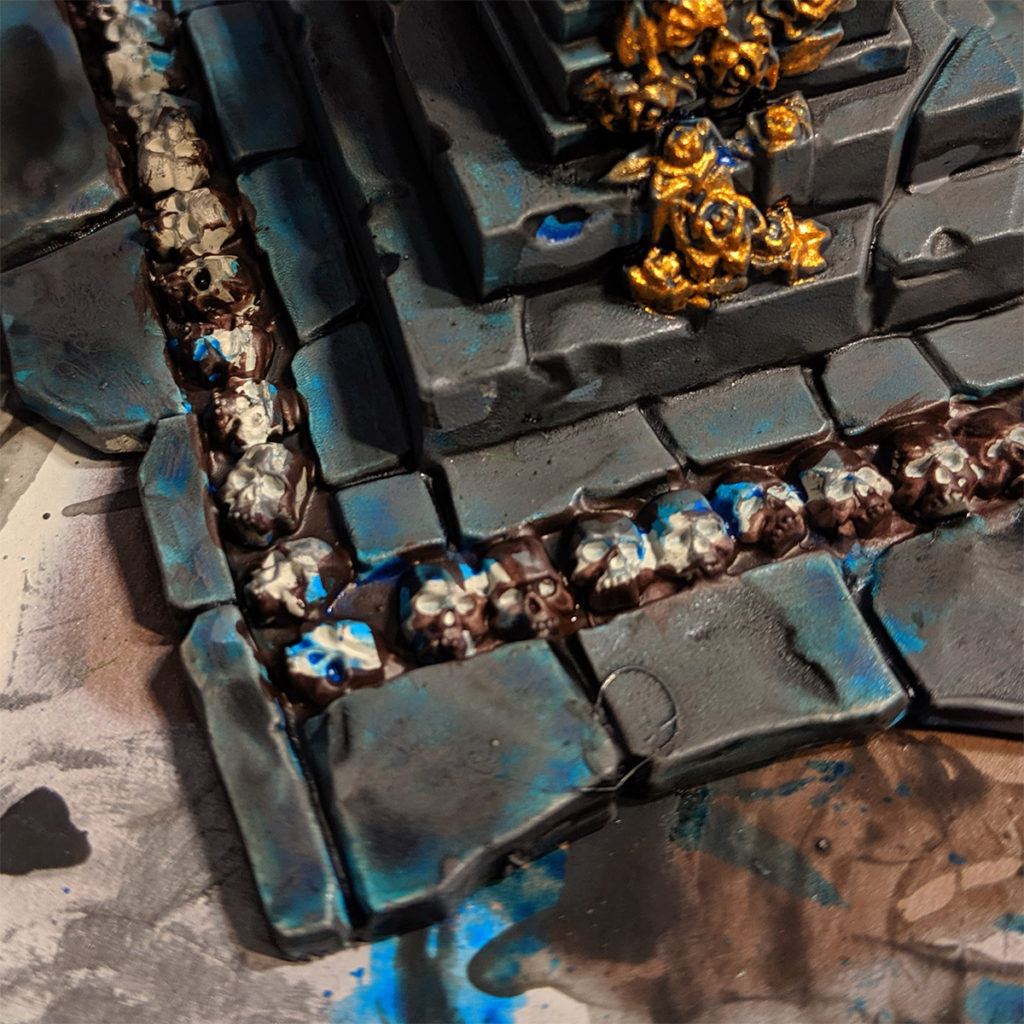
Step 7 – An Obsession with Skulls….
One of the other oddities with the world’s of Warhammer is their obsession with skulls. They are everywhere…whatever… I guess they are easy details to add to miniatures.
Skulls are a simple two step process. The first step we are working with here is the base coat of white. I generally use an off white color called “Linen White” from the Reaper Master Series, but any white color can work.
Step 8 – Bronze Statue Part 2
I didn’t forget about the bronze statue from several steps ago. I just didn’t make the most efficient use of my time.
For this step, I am dry brushing some gold on the statue just to give the illusion that it had a more metallic sheen in the past.
Ideally, Step 5 of the painting process should have been step 4 and this step could have been done alongside the gold details since these two steps use the same color. However, that only matters if you are into that hyper efficiency thing.
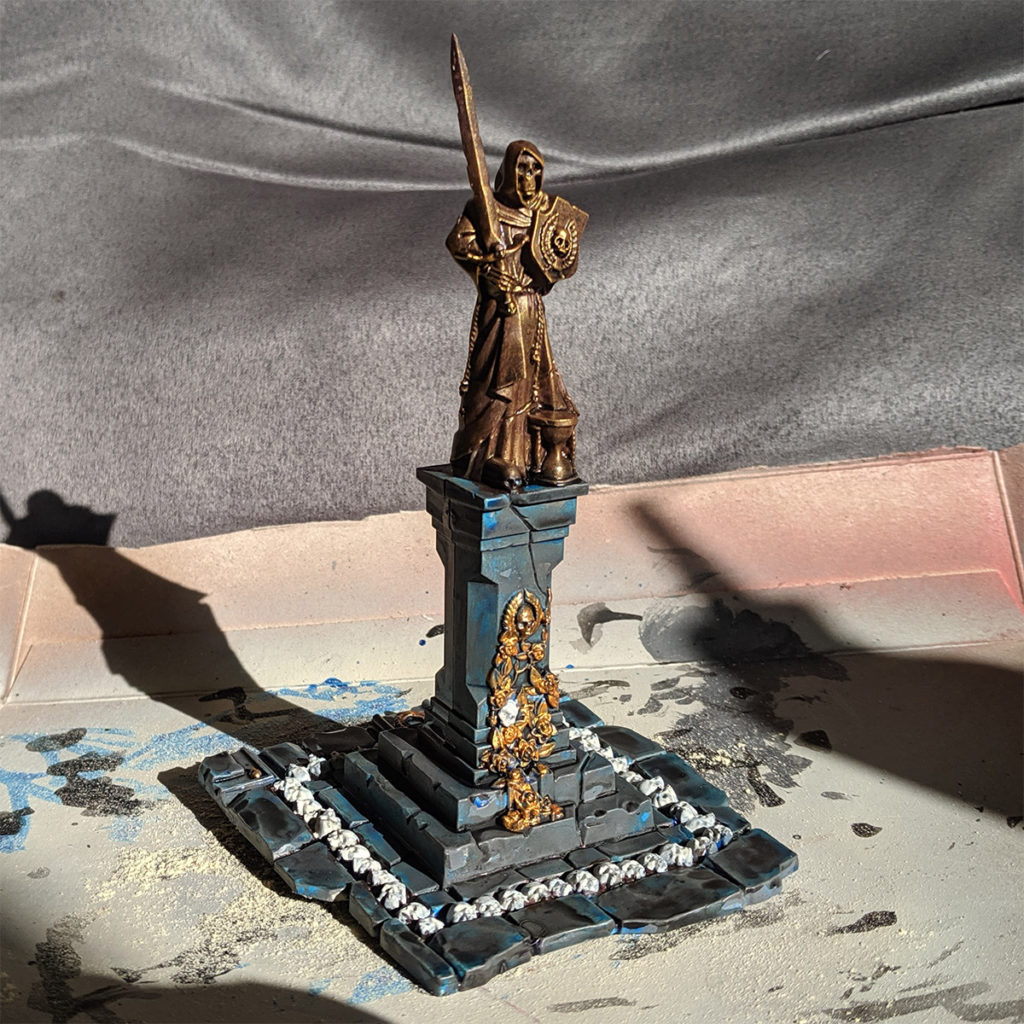
Step 9 – Lets Call it Done!
The final step is cover all of the metallic parts and the skulls with a brown wash. Oddly enough, this color gives age to both those categories of things.
Once the wash has dried, this terrain piece has been completed. With some practice, these steps can be used to paint an entire building in around 30 minutes, not counting the time between steps for letting the paint dry.